

What is the Process of Installing a Pool?
The installation of a swimming pool is a remarkable home improvement project, transforming your backyard into a personal oasis. However, it’s also a complex job that requires meticulous planning and professional execution.
Planning and Design
Initial Consultation
Your journey to a new pool begins with a detailed consultation with a professional pool builder. During this phase, you’ll discuss your vision, budget, and preferences. Experts will assess your space to determine the best pool type and layout.
Site Inspection and Feasibility Studies
Next, a site inspection is conducted to evaluate the project’s feasibility. Factors such as soil type, slope, plumbing, and electrical conditions are examined. This step ensures that the area can support the pool structurally and that any potential issues are addressed early on.
Design Approval and Permits
Once the site inspection is complete, the design team prepares detailed plans and 3D renderings. After review and approval, the design is finalized. At this point, obtaining necessary permits from local authorities is essential. The timeline for this can vary, so it’s good to consult “swimming pool installation near me” to get estimates on permit acquisition times.
Excavation and Initial Construction
Marking the Pool Area
The physical process starts by marking the pool area based on the approved design. Precision is key in this step to ensure the pool will fit perfectly in your backyard space.
Excavation Process
Using heavy machinery, contractors excavate the marked area. This step is exciting yet messy, transforming your backyard into a construction zone. On average, excavation can take 1-2 weeks, depending on soil conditions and pool size.
Plumbing and Electrical Setup
With the hole dug, the next phase involves laying out the plumbing and electrical systems. This setup includes installing pipes, drains, and wiring necessary for the pool’s functionality. Ensuring that all components are correctly integrated is vital to avoid future maintenance issues. Always hire licensed professionals.
Structural Framework and Shell Installation
Rebar Framework
A steel rebar framework is then constructed within the excavated hole. This mesh of steel bars provides the pool with structural integrity and serves as the skeleton for the concrete shell.
Shell Material Choice
Pools can be constructed from various materials such as gunite, fiberglass, or vinyl. Gunite pools, for example, involve spraying concrete over the rebar framework, which allows for flexibility in shape and durability. Fiberglass pools come as prefabricated shells, which are relatively quicker to install but may have size limitations.
Pool Shell Installation
For gunite pools, concrete is sprayed over the rebar structure and smoothed out. This shell needs time to cure, generally around 28 days. Fiberglass pools, on the other hand, are gently lowered into the hole and adjusted to ensure proper positioning.
Interior Finish and Hardscaping
Applying the Interior Finish
After the shell is installed and cured, the interior finish of the pool, such as plaster, tiles, or pebbles, is applied. This not only enhances the pool’s aesthetic appeal but also ensures water-tightness. Popular options include plaster for a smooth finish or aggregate for a more textured look.

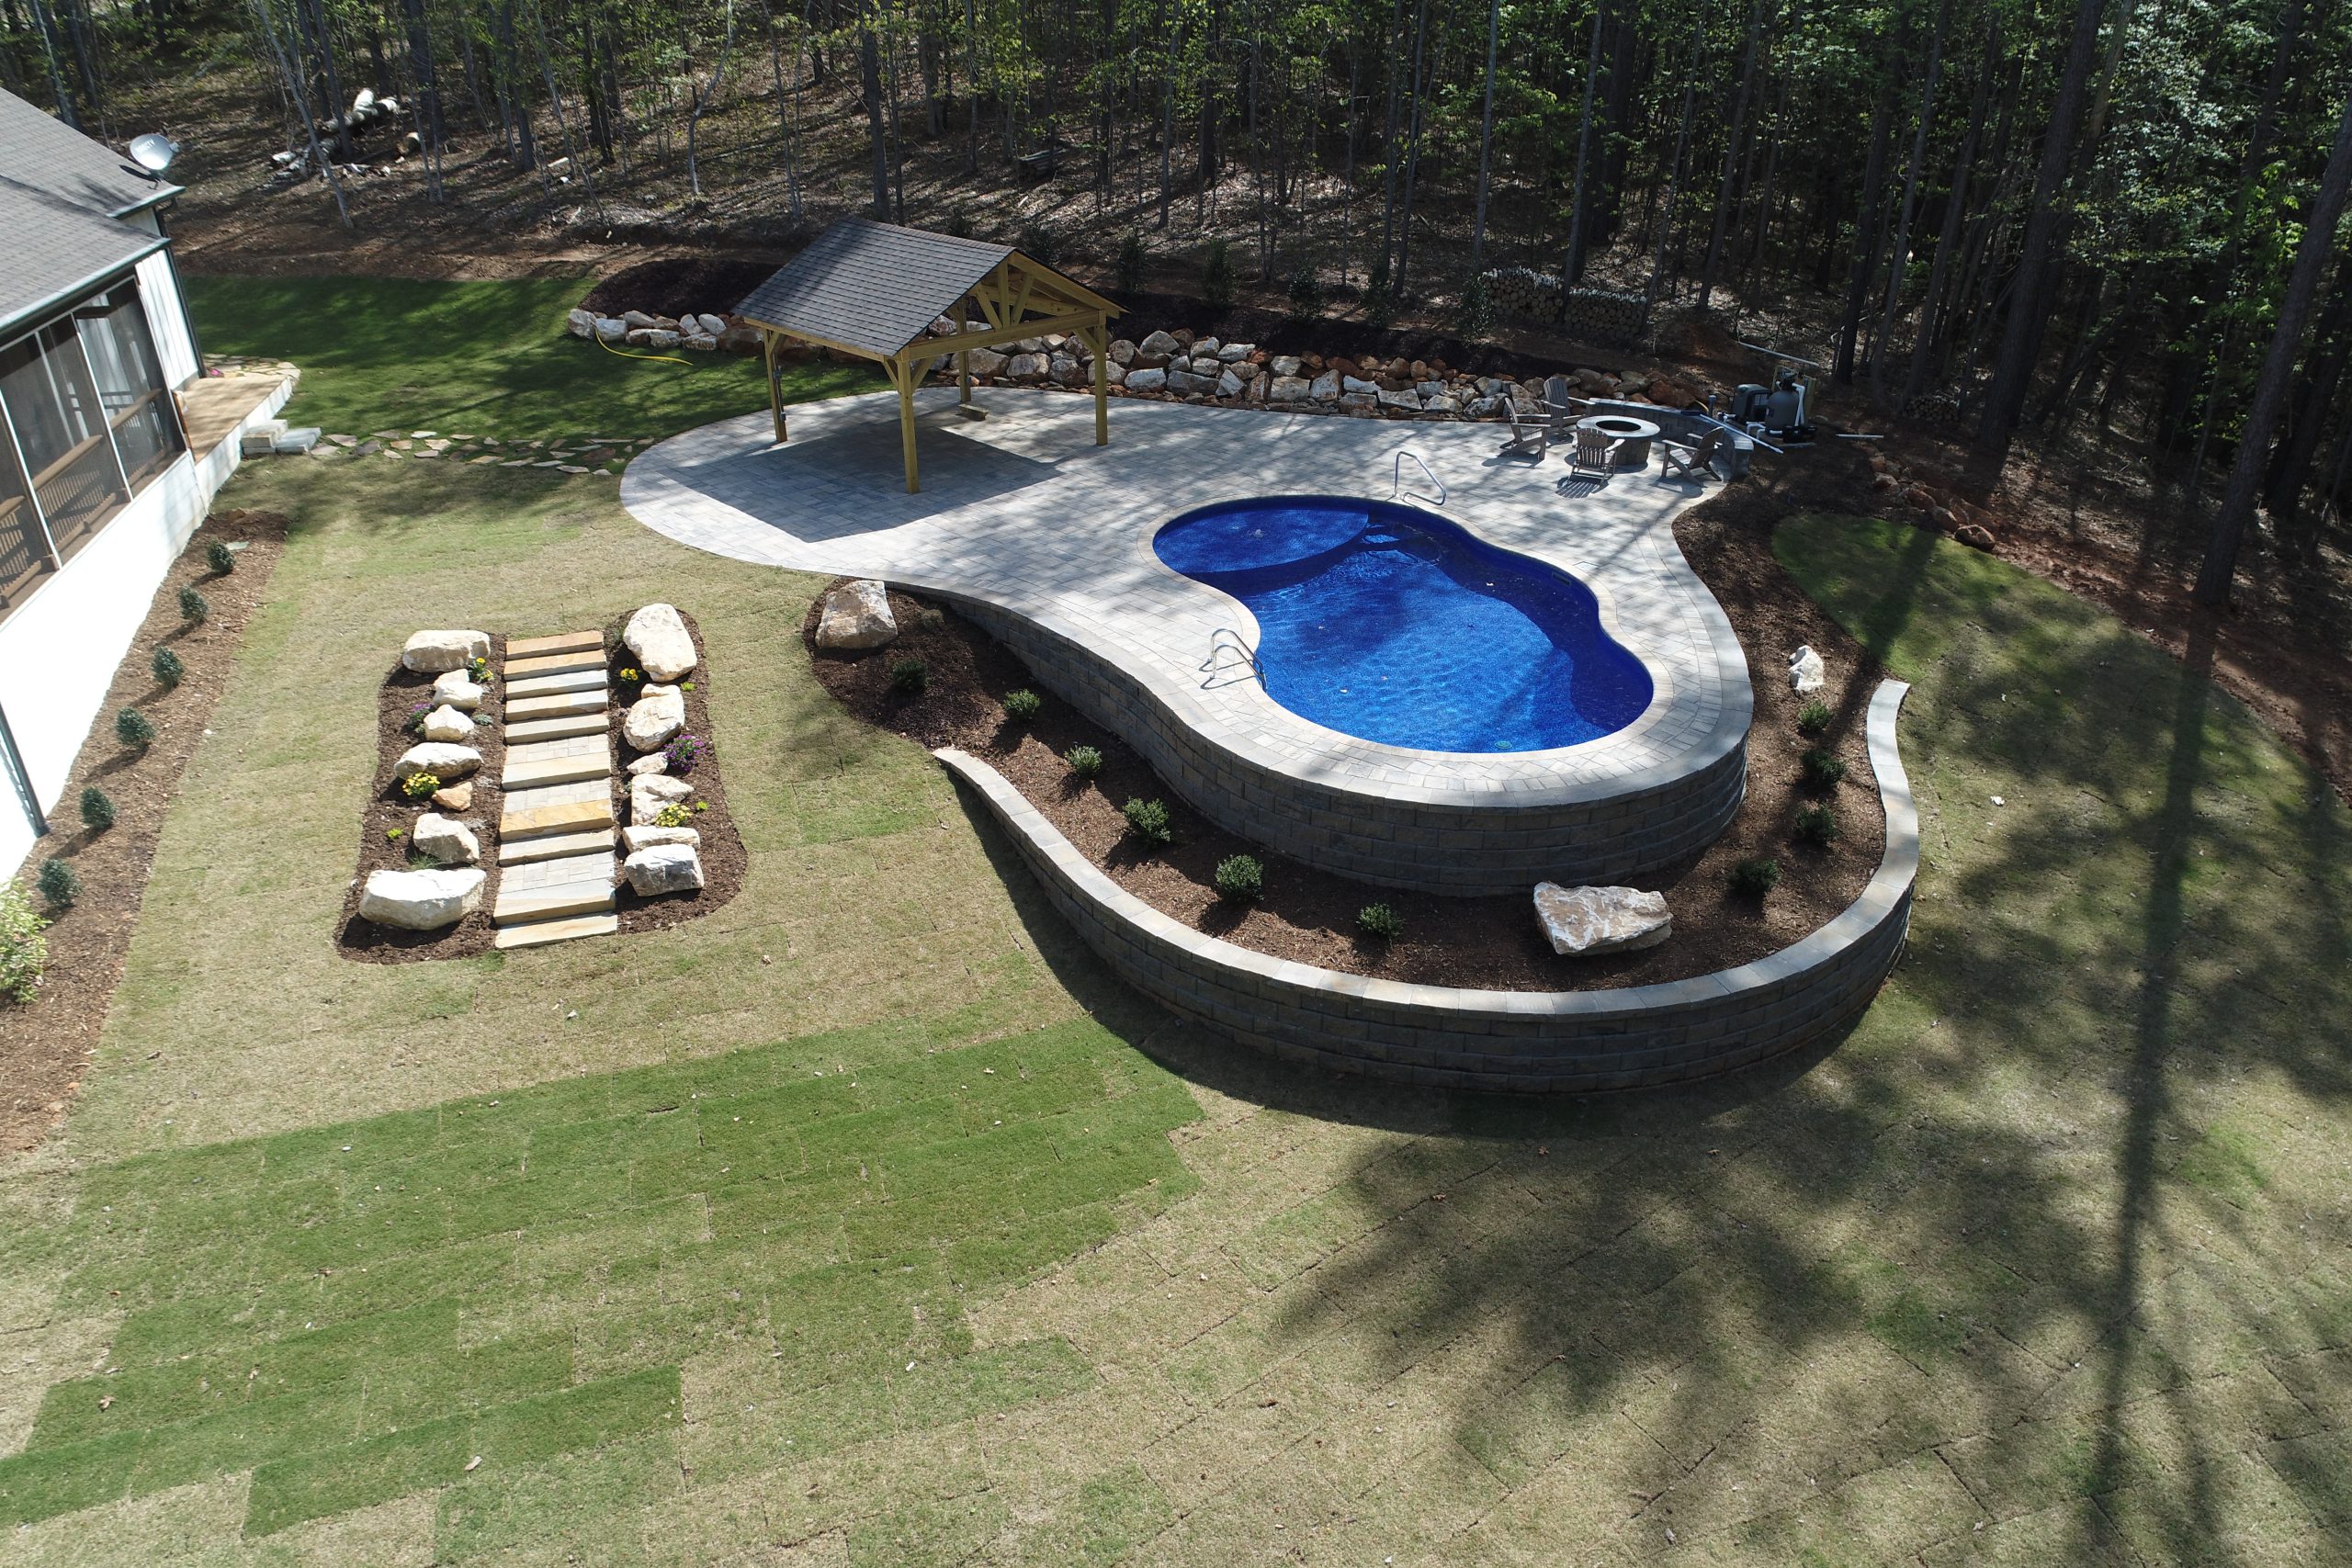
Hardscaping
With the pool structure complete, attention turns to the surrounding areas. Decking materials like concrete, pavers, or natural stone are installed. This phase includes adding any additional features like waterfalls, lighting, and landscaping.
Filling the Pool and Water Treatment
Once the hardscaping is finished, the pool is filled with water. Initial water treatment is crucial to balance chemicals and make the pool safe for use. This process can take a few days as water chemistry is carefully adjusted.
Final Inspection and Handover
Safety Checks and Final Inspection
Before your new pool is ready for use, a final inspection is conducted. Professionals check for compliance with safety standards and regulations. This includes ensuring proper fencing, pool covers, and alarms are in place.
Handover and Maintenance Tips
Once the pool passes inspection, the builder will provide a comprehensive handover. This includes educating you on maintenance procedures, chemical balancing, and equipment operation.
Practical Tips for a Smooth Installation Process
Budgeting Wisely
Understanding the costs involved is crucial. Installation costs can vary significantly based on pool type, size, and additional features.
Timeline Expectations
A typical pool installation can take anywhere from 8 to 12 weeks. However, factors such as weather conditions, complexity of the design, and permit approval times can impact the schedule. Keeping a flexible timeline in mind can help manage expectations.
Choosing the Right Contractor
The success of your pool installation highly depends on the contractor you choose. Look for established companies with strong portfolios and positive customer reviews. Engaging professionals with a proven track record minimizes risks and ensures high-quality results.
Conclusion
Installing a swimming pool is a significant investment that enhances your property’s value and provides endless enjoyment. By understanding each step of the process, from planning and design to final inspection, you can be better prepared for your pool installation journey.


